Themes that use the Studiopress Genesis Framework first require installation of Genesis followed by installation of your theme template and various plugins. Using Genesis provides you with a solid base theme that can be updated without you losing any customizations. It is the most popular WordPress Framework for a reason!
If you are comfortable installing themes and plugins, simply install Genesis and your purchased Genesis child theme template and set the child theme as active. Then install and activate the plugins required for your theme (see your theme specific instructions page).
If you need instruction on how to install themes and plugins, keep reading and follow the instructions.
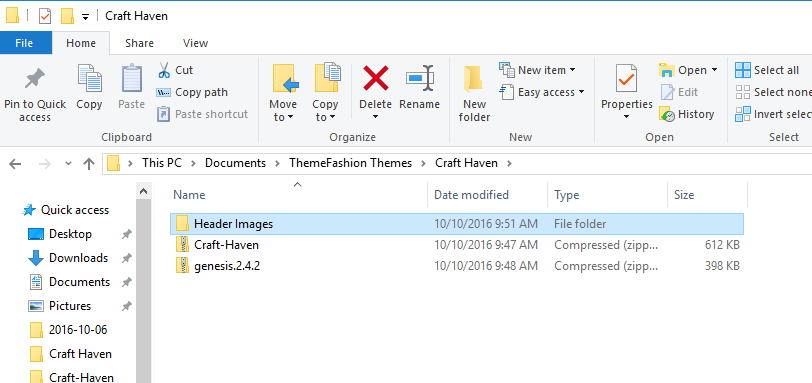
To begin your theme installation, unzip/extract the package that you downloaded. Inside is your zipped genesis theme file and zipped theme template, along with instructions and other files. NOTE: If your purchase had a separate genesis download, use that file instead of the one in your main package. It is the most recent version.
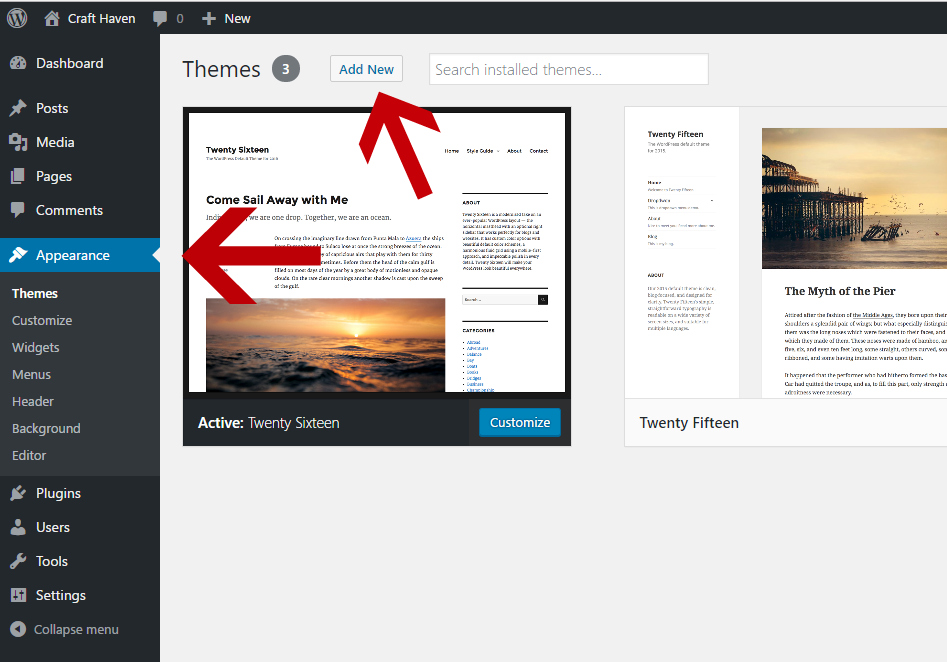
Navigate in your dashboard to Appearance-Themes. Click the Add New Button.
You will be taken to a page to upload your theme. Choose the Genesis file from your package and click the install now button. This will install your theme.
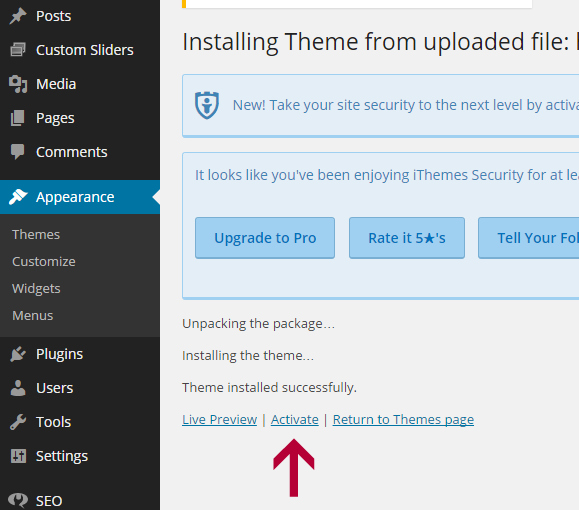
Click activate. This will set your theme to active. With a genesis theme, you will now repeat the process to install the child theme.
Return to Appearance-Themes, navigate to the zipped file for the child theme that your purchased, upload it and activate it.
You now should be ready to being installing any needed plugins and set up your home page.


